
When performing an assembly of wire termination, its successful implementation depends on a proper crimp. An electrical connection set-up will be safe and reliable with high performance only on its successful application. It mainly includes selecting a suitable wire end, the right terminal crimping tool and its application procedure.
When a crimp is properly installed, the terminal works in an uninterrupted and transparent way. However, if you fail to install it properly, it may call for a rework, downtime and recalls.
Instructions for proper installation of crimp:
Getting this installation right and producing an unflawed crimp that would not lead to failure requires you to follow a few steps.
Step 1: Opt for a correct terminal to install the crimp. Choosing the wrong one may lead to a flawed wire connection.
Step 2: Choose the right tool when crimping wire finishes. A terminal crimping tool suits this need the best. It is available in various sizes and jaws for different wire types.
Step 3: End the process with a crimp of high quality. To get it done right, you also need to have a proper technique for crimping wires to the terminal.
Here’s the essential procedure you should follow while crimping wire terminals.
Procedure for fixing terminals with a terminal crimping tool:
- Selecting the right terminal
Select the right terminal suitable for a given wire size and application. Grounding applications require the use of ring terminals while fork terminals go with static joining. Connecting two wires requires the use of splices while disconnects are more suitable when you need to join two wires quickly.
- Stripping the wire
Before crimping it, you need to take the insulator off the wire strands. Make sure to strip it to proper length and shape. A spliced wire or one with long naked strands poses the risk of an accident. So, strip it to a length little longer than the metallic part of your chosen terminal connector.
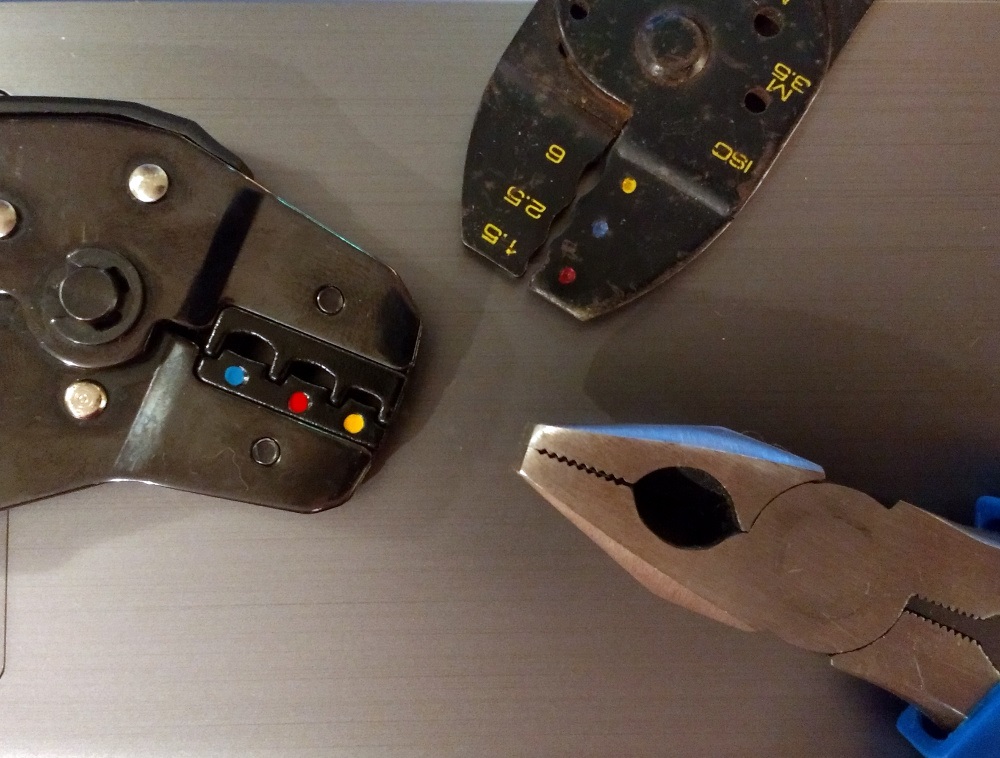
- Selecting a crimp tool
Since crimp tools are available in a wide variety, you need to match it with the required application. Also, before buying one, check whether it has the right approvals or not, like being a CSA certified electrical termination or UL listed.
- Fixing the wire
It is the most technical aspect of crimping wire terminals as it requires expertise. Wire strands are twisted together to fit into their terminal. You need to be extra careful with thin wires as twisting may damage or break them. Make sure to fit it in properly so that only the bare wires get into the hollow metal.
If you have stripped the wire to its required length, it would fit in its connector perfectly.
- Matching the tool with the connector’s colour
Some terminal crimp tools also come with colour coding, specifically suitable for a given connector type. If your tool has such coding, match it with its suitable connector. As a final step, place the connector between the tool’s jaws and press strongly. For long connectors, you need to crimp at multiple places for perfection.
Wrap up the process by covering the connection with wire tape and make it secure. That’s all with the crimping process. Practice this procedure safely and ensure a long-lasting connection.